The fastest way to make calls using Twilio and Zoiper (or any other soft phone like Linphone) is to register your softphone directly to a Twilio SIP Domain. Twilio acts as the bridge between your SIP client and the PSTN.
This approach requires no PBX and is ideal for testing, prototypes, or for personal use especially if you are in international roaming.
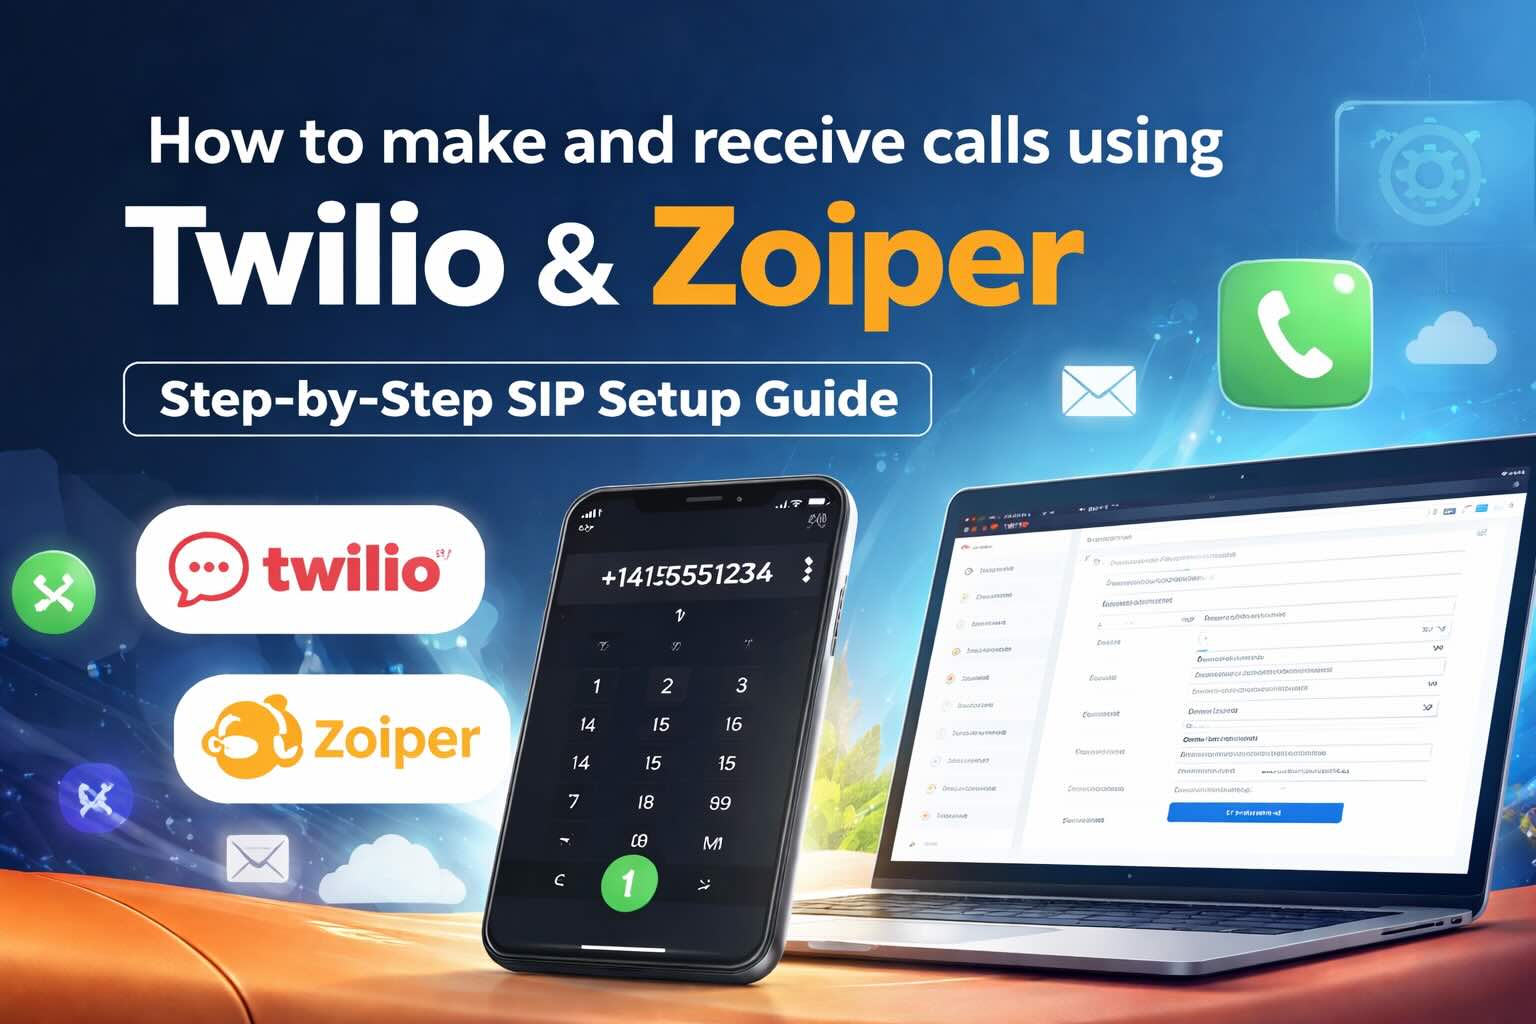
Step 0: Set Up the Twilio Dashboard
In your Twilio Console dashboard, first pin the following products for quick access from the sidebar.
Click “Explore Products” in the sidebar and pin:
- Voice
- TwiML Bins
- Phone Numbers
Your sidebar should now look similar to the screenshot shown below.

Step 1: Create SIP Credentials in Twilio
Go to:
Voice → Manage → Credential Lists
Create a new Credential List
- A Friendly Name (anything descriptive)
- A username
- A strong password
You will use these credentials inside Zoiper.
Step 2: Create a TwiML Bin for Outbound Calls
Go to:
TwiML Bins → My TwiML bins
Create a new TwiML Bin configuration
Set a Friendly Name: anything descriptive
Paste the following XML:
<?xml version="1.0" encoding="UTF-8"?><Response> <Dial answerOnBridge="true" callerId="+14155551234"> {{#e164}}{{To}}{{/e164}} </Dial></Response>
Replace +14155551234 with a Twilio number you own.
Why this matters
{{To}}forwards the number dialed from ZoipercallerIdensures PSTN calls display your Twilio numberanswerOnBridge="true"prevents early media issues
Click Create to save the TwiML Bin.
Step 3: Create a SIP Domain
Go to:
Voice → Manage → SIP Domains
Configure:
- Friendly Name: anything descriptive
- SIP URI:
yourprefix.sip.twilio.com - Voice Authentication: select your Credential List
- Enable SIP Registration: ✔
Under Call Control Configuration:
- “A CALL COMES IN” → Select TwiML Bin
Save the configuration.
Step 4: Configure Zoiper (or Any Softphone)
Add a new SIP account:
Username: your_sip_usernamePassword: your_sip_passwordDomain: yourprefix.sip.twilio.comTransport: UDP (recommended for testing)
Once configured, Zoiper should show Registered
If it doesn’t:
- Check credentials
- Confirm SIP Registration is enabled
- Verify domain spelling
Step 5: Make a Call
Dial in E.164 format:
+14155551234+491701234567
Twilio expects the leading + and country code.
When you press call:
- Zoiper sends SIP INVITE to Twilio
- Twilio executes your TwiML
- Twilio dials the PSTN number
- The call bridges once answered
Step 6: Receiving Incoming Calls
Create a TwiML Bin for Inbound Calls
Go to:
Voice → TwiML Bins → Create New
Paste:
<?xml version="1.0" encoding="UTF-8"?><Response> <Dial> <Sip>sip:your_sip_username@yourprefix.sip.twilio.com</Sip> </Dial></Response>
Replace:
your_sip_username→ Your SIP credential usernameyourprefix→ Your SIP domain prefix
Save the TwiML Bin.
Attach the TwiML Bin to Your Twilio Number
Go to:
Phone Numbers → Manage → Active Numbers → Your Number
Under A CALL COMES IN:
- Select TwiML Bin
- Choose the TwiML Bin you just created
- Click Save
Now inbound calls will ring your registered softphone.
Common Issues and Fixes
403 Forbidden
- Wrong credentials
- SIP Registration not enabled
21217 Caller ID Error
- CallerId in TwiML is not a Twilio-owned number
Call connects but no audio
- NAT/firewall issue
- Try UDP transport
- Enable STUN (e.g., stun.l.google.com:19302)
When to Use Elastic SIP Trunking Instead
If you have a PBX (Asterisk, FreePBX, 3CX), use Twilio Elastic SIP Trunking instead.
In that case:
- Twilio connects to your PBX
- Zoiper registers to your PBX
- Your PBX handles routing
Direct SIP registration is simpler. Trunking is better for complex call routing.
What Happens Behind the Scenes?
When you press dial:
- Twilio becomes a programmable SIP server
- Your TwiML defines how the call is routed
- Twilio handles PSTN interconnect
- Media flows between Zoiper and Twilio
You are essentially building your own lightweight phone system using Twilio’s programmable voice layer.
Final Checklist
- Twilio number purchased
- TwiML Bin created and saved
- CallerId replaced with owned number
- SIP Domain created
- Credential List attached
- SIP Registration enabled
- Softphone shows “Registered”
- Dialing in +E.164 format
Conclusion
Making calls with Twilio and Zoiper is straightforward once you understand the flow: SIP client → Twilio → PSTN.
For quick setups and prototypes, direct SIP registration is the pro move. It’s simple, flexible, and gives you full programmable control without running your own PBX.
References & further reading
- Twilio Console (OpenAI Platform, OpenAI)
- Twilio TwiML Bins (TwiML Bins)
- Zoiper Download Page (Download Zoiper)
- Download Linphone (Download Linphone)
Akash Gupta
Senior VoIP Engineer and AI Enthusiast

AI and VoIP Blog
Thank you for visiting the Blog. Hit the subscribe button to receive the next post right in your inbox. If you find this article helpful don't forget to share your feedback in the comments and hit the like/clap button. This will helps in knowing what topics resonate with you, allowing me to create more that keeps you informed.
Thank you for reading, and stay tuned for more insights and guides!
Leave a Reply